how to organize your gift wrapping supplies
Julianna Strickland’s Gift Wrapping Resume:
Wichita Kansas, 1998:
Attended afternoon gift-wrapping class with mother. Learned various ways to enfold items in cellophane and tulle.
Wichita, Kansas 1998 – 2004:
Worked as “Strickland Family Personal Gift Wrapper” (an esteemed but unpaid position). Wrapped everyone’s gifts except for own.
Los Angeles, CA 2010:
Was short on cash and put listing on Craigslist as, “Freelance Professional Gift Wrapper.” Hired once, made approx. $75.
Los Angeles, CA 2010 – Present:
Currently in possession of one extremely messy under-bed gift-wrap storage box (see below).
I love birthdays and holidays and gift giving and making presents look beautiful, so OF COURSE I keep a myriad of wrapping paper and supplies on hand. And until recently, the extent of my organization was one overstuffed box under my bed. This month I decided to be an adult and get it together so without further ado, here’s how!
STEP 1: Decide where to store your giftwrap. A few sensible options include: closets, laundry rooms, garages, rooms dedicated entirely to giftwrap (ALL HAIL MARTHA), or under the bed. Wherever you decide to keep it, make sure you have an appropriately sized storage container (or containers) to hold everything in one place. I don’t want to hear that you keep “a little in the kitchen and a little in the garage and some in the basement…” because that means you have 10 tapes and 6 pairs of scissors and 60 rolls of paper and you end up throwing everything in a gift bag five minutes before the party anyway because “ughhhhh.” Someday I will invest in an awesome giftwrap door. Until then, I use an under bed box.
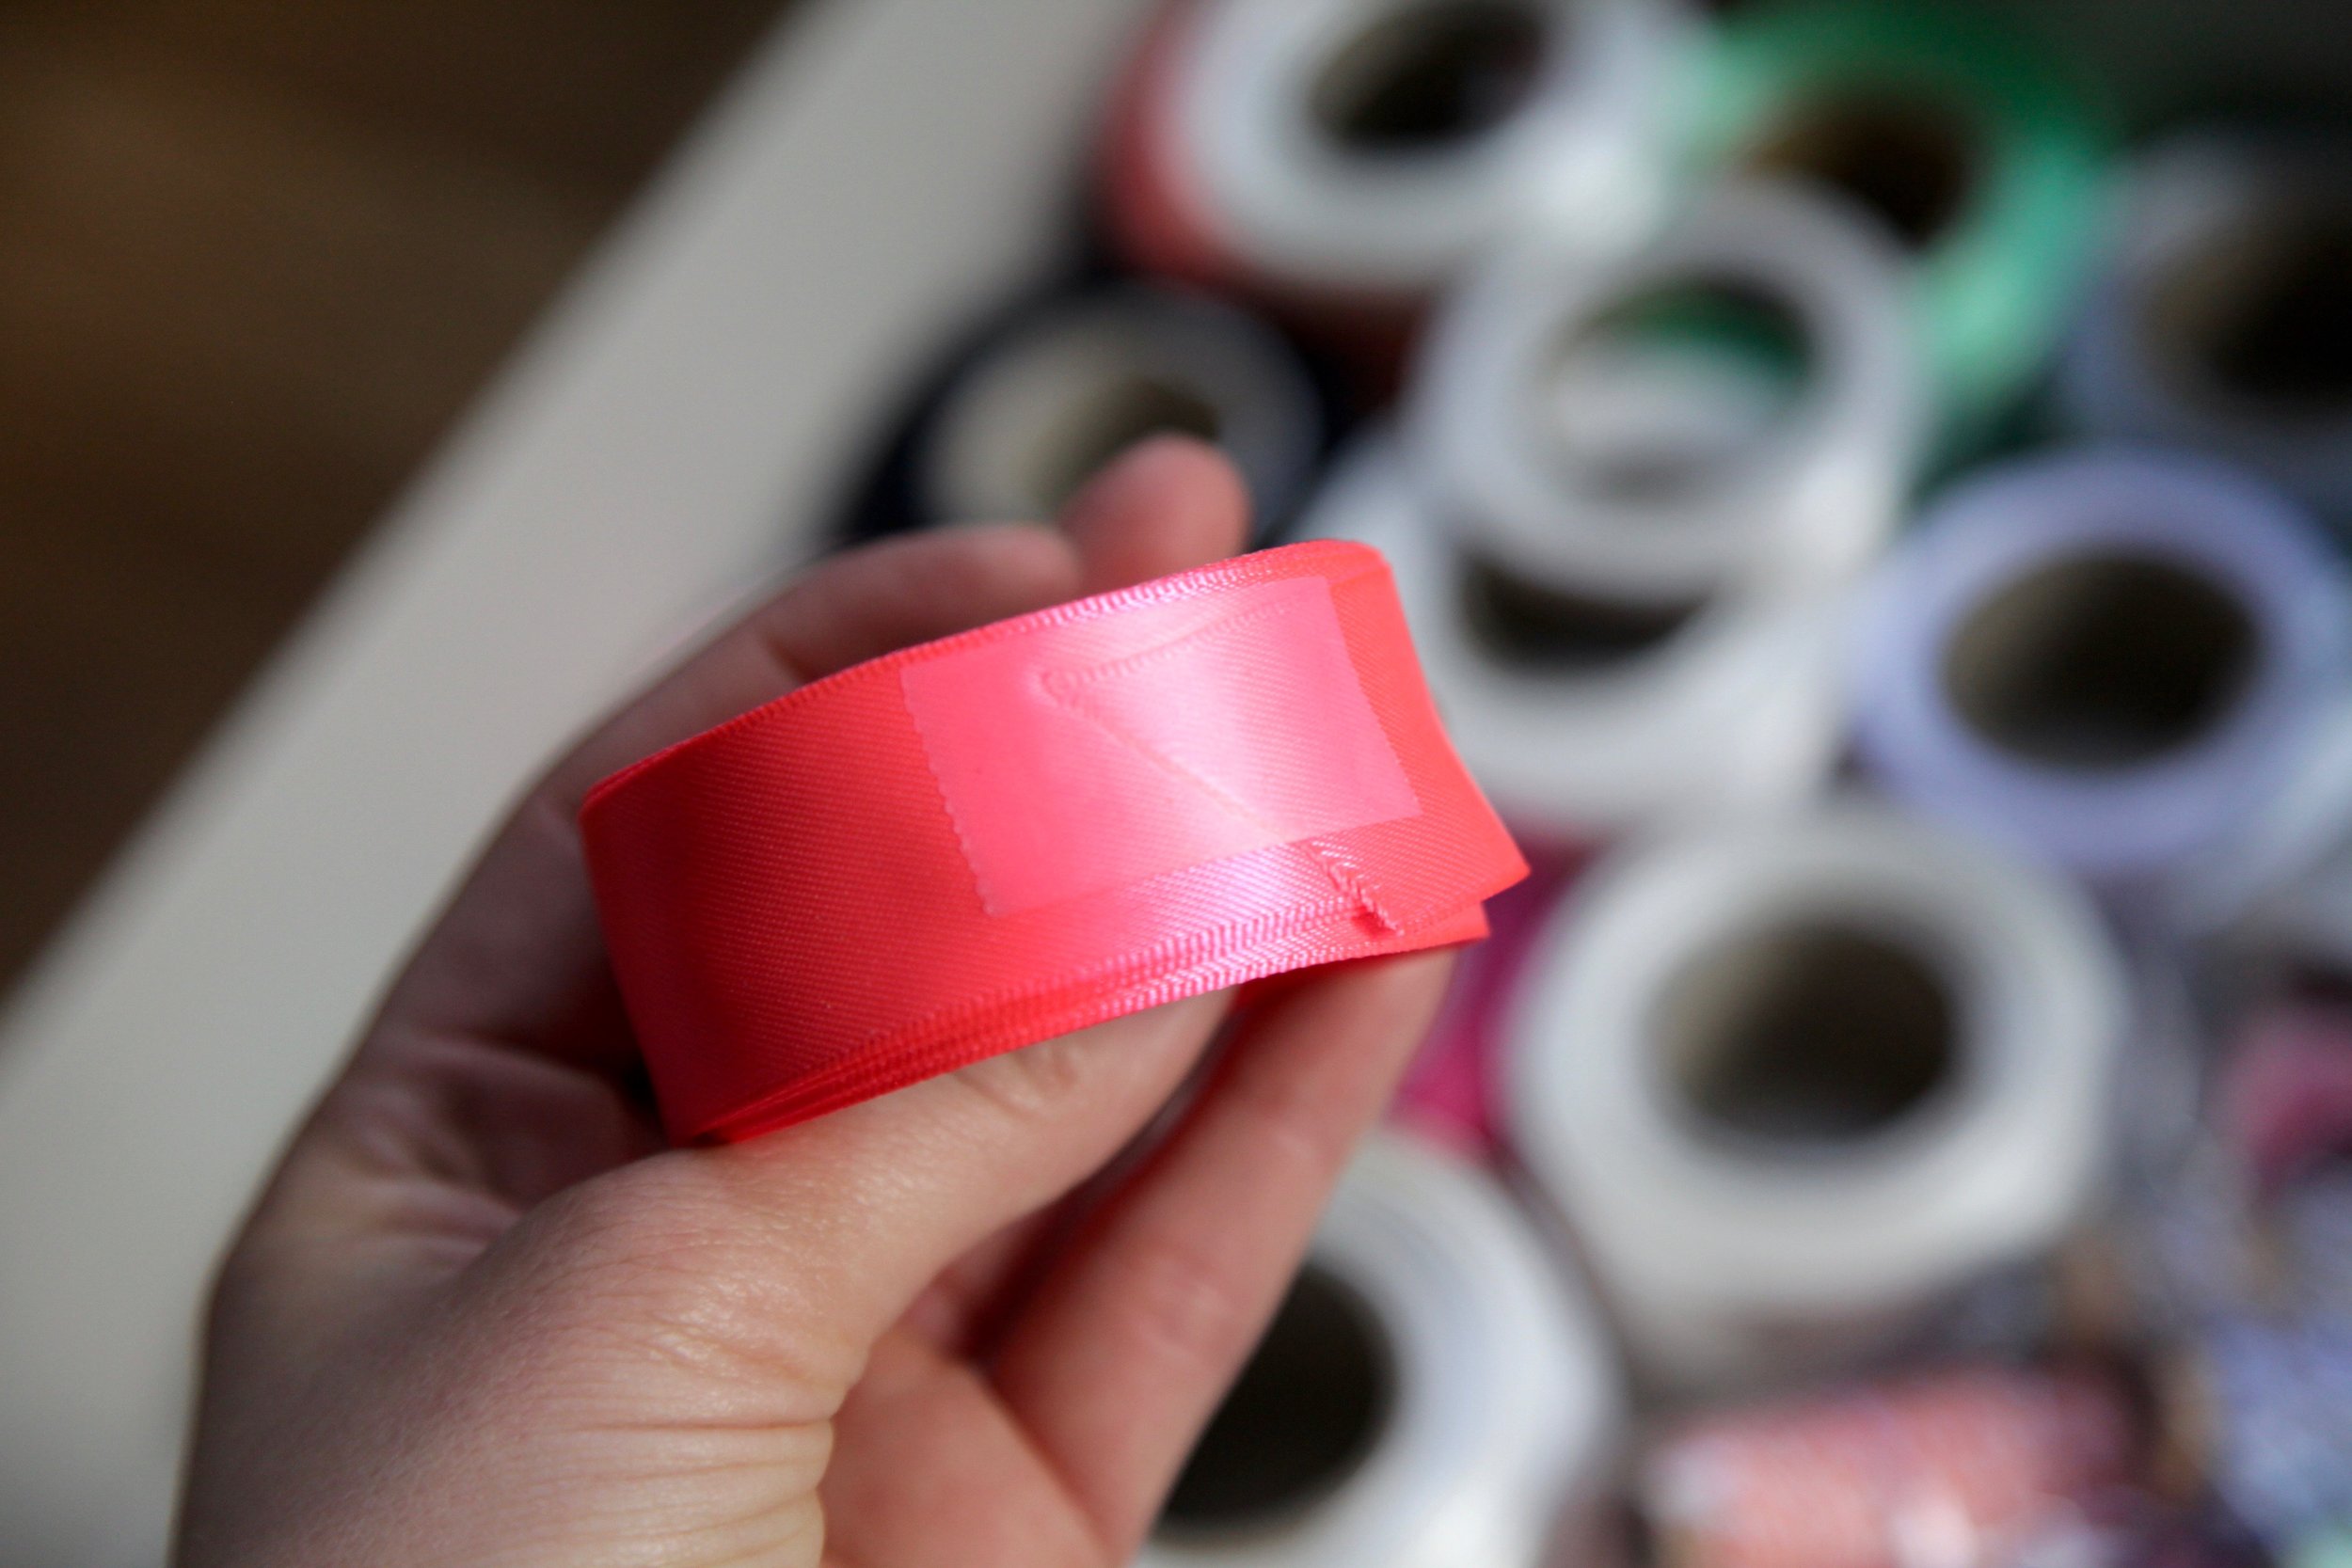
STEP 2: Compartmentalize. Once you know where the giftwrap center is going to live, take all of your supplies and separate them into groups. Toss anything that’s obviously trash and tidy up everything that isn’t. I like to use a little piece of tape to keep my spools of ribbon and rolls of paper tightly wound and in place.
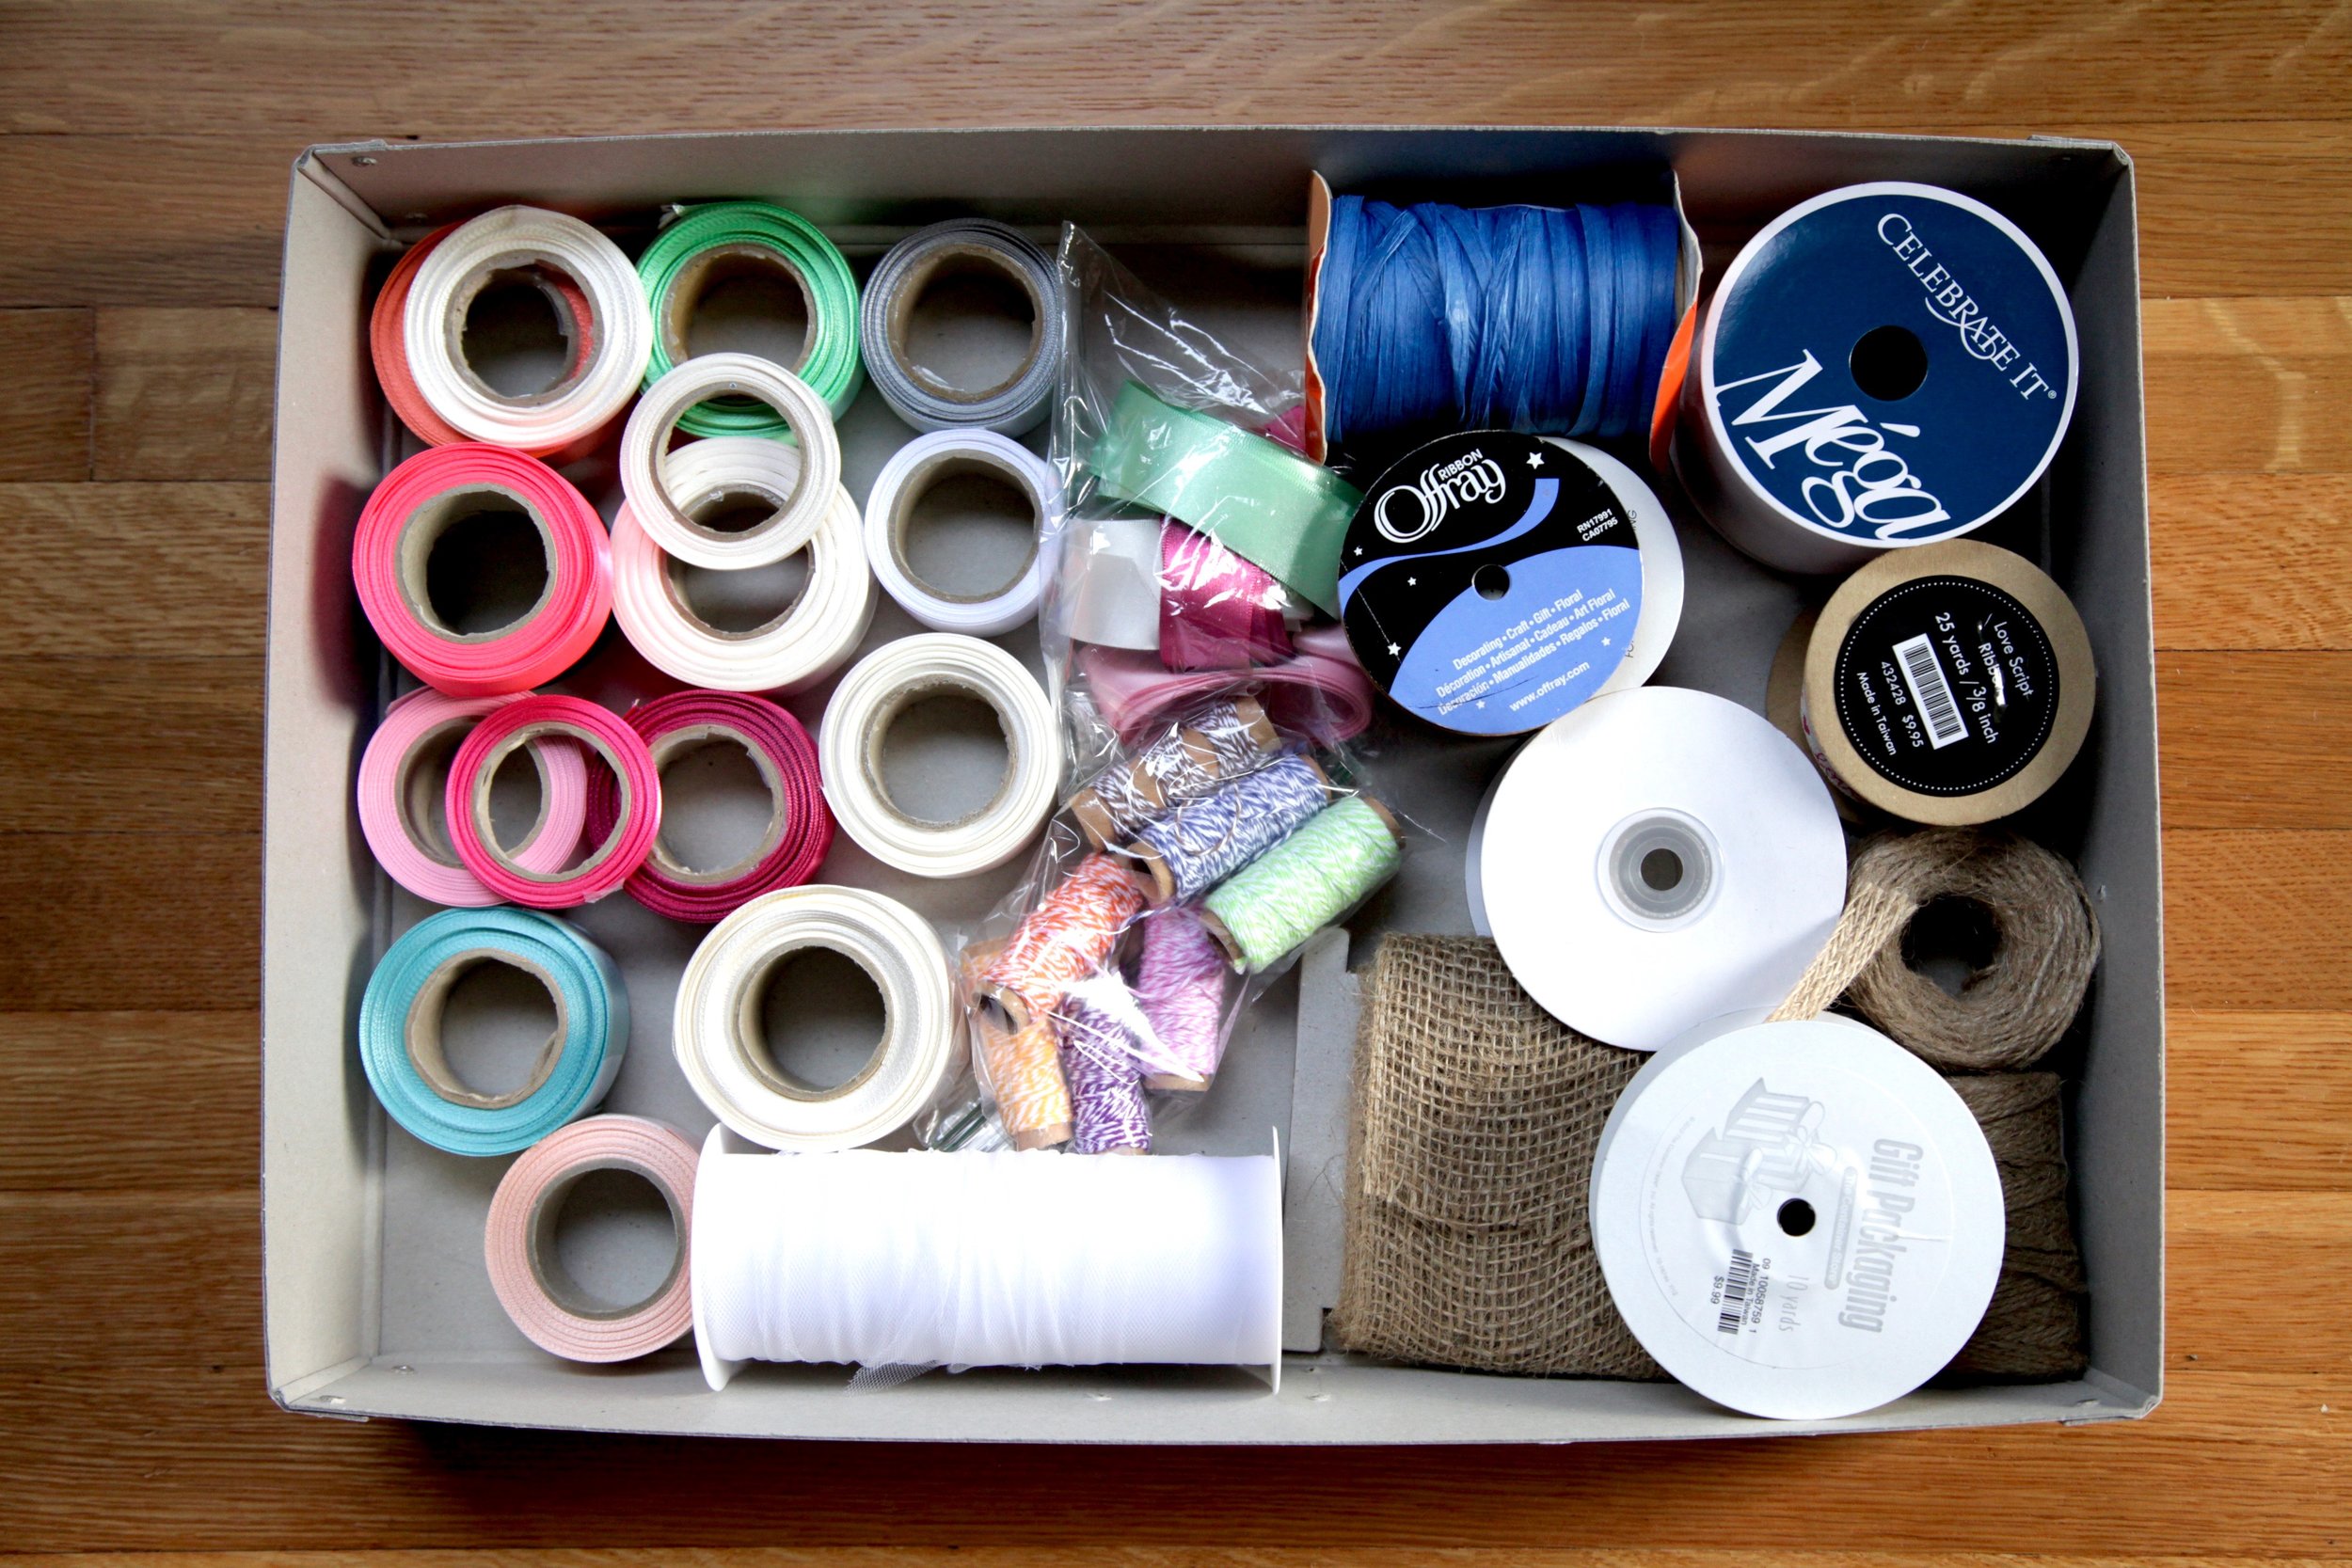
STEP 3: Use smaller bags and boxes to contain groups of items. My box was overflowing, so I purchased an additional, smaller box to hold all of my ribbon. I then used zippered bags to hold other supplies like tape, tools (scissors, hole punches, etc.), stickers, tags, etc. I labeled each bag and box and made sure they fit together well (and had a little room to grow).
And that’s it. Now that I know what I have, I am more likely to use the supplies I already own and not make last minute trips to Paper Source for emergency tissue paper (though I will still go to Paper Source because it’s the best).
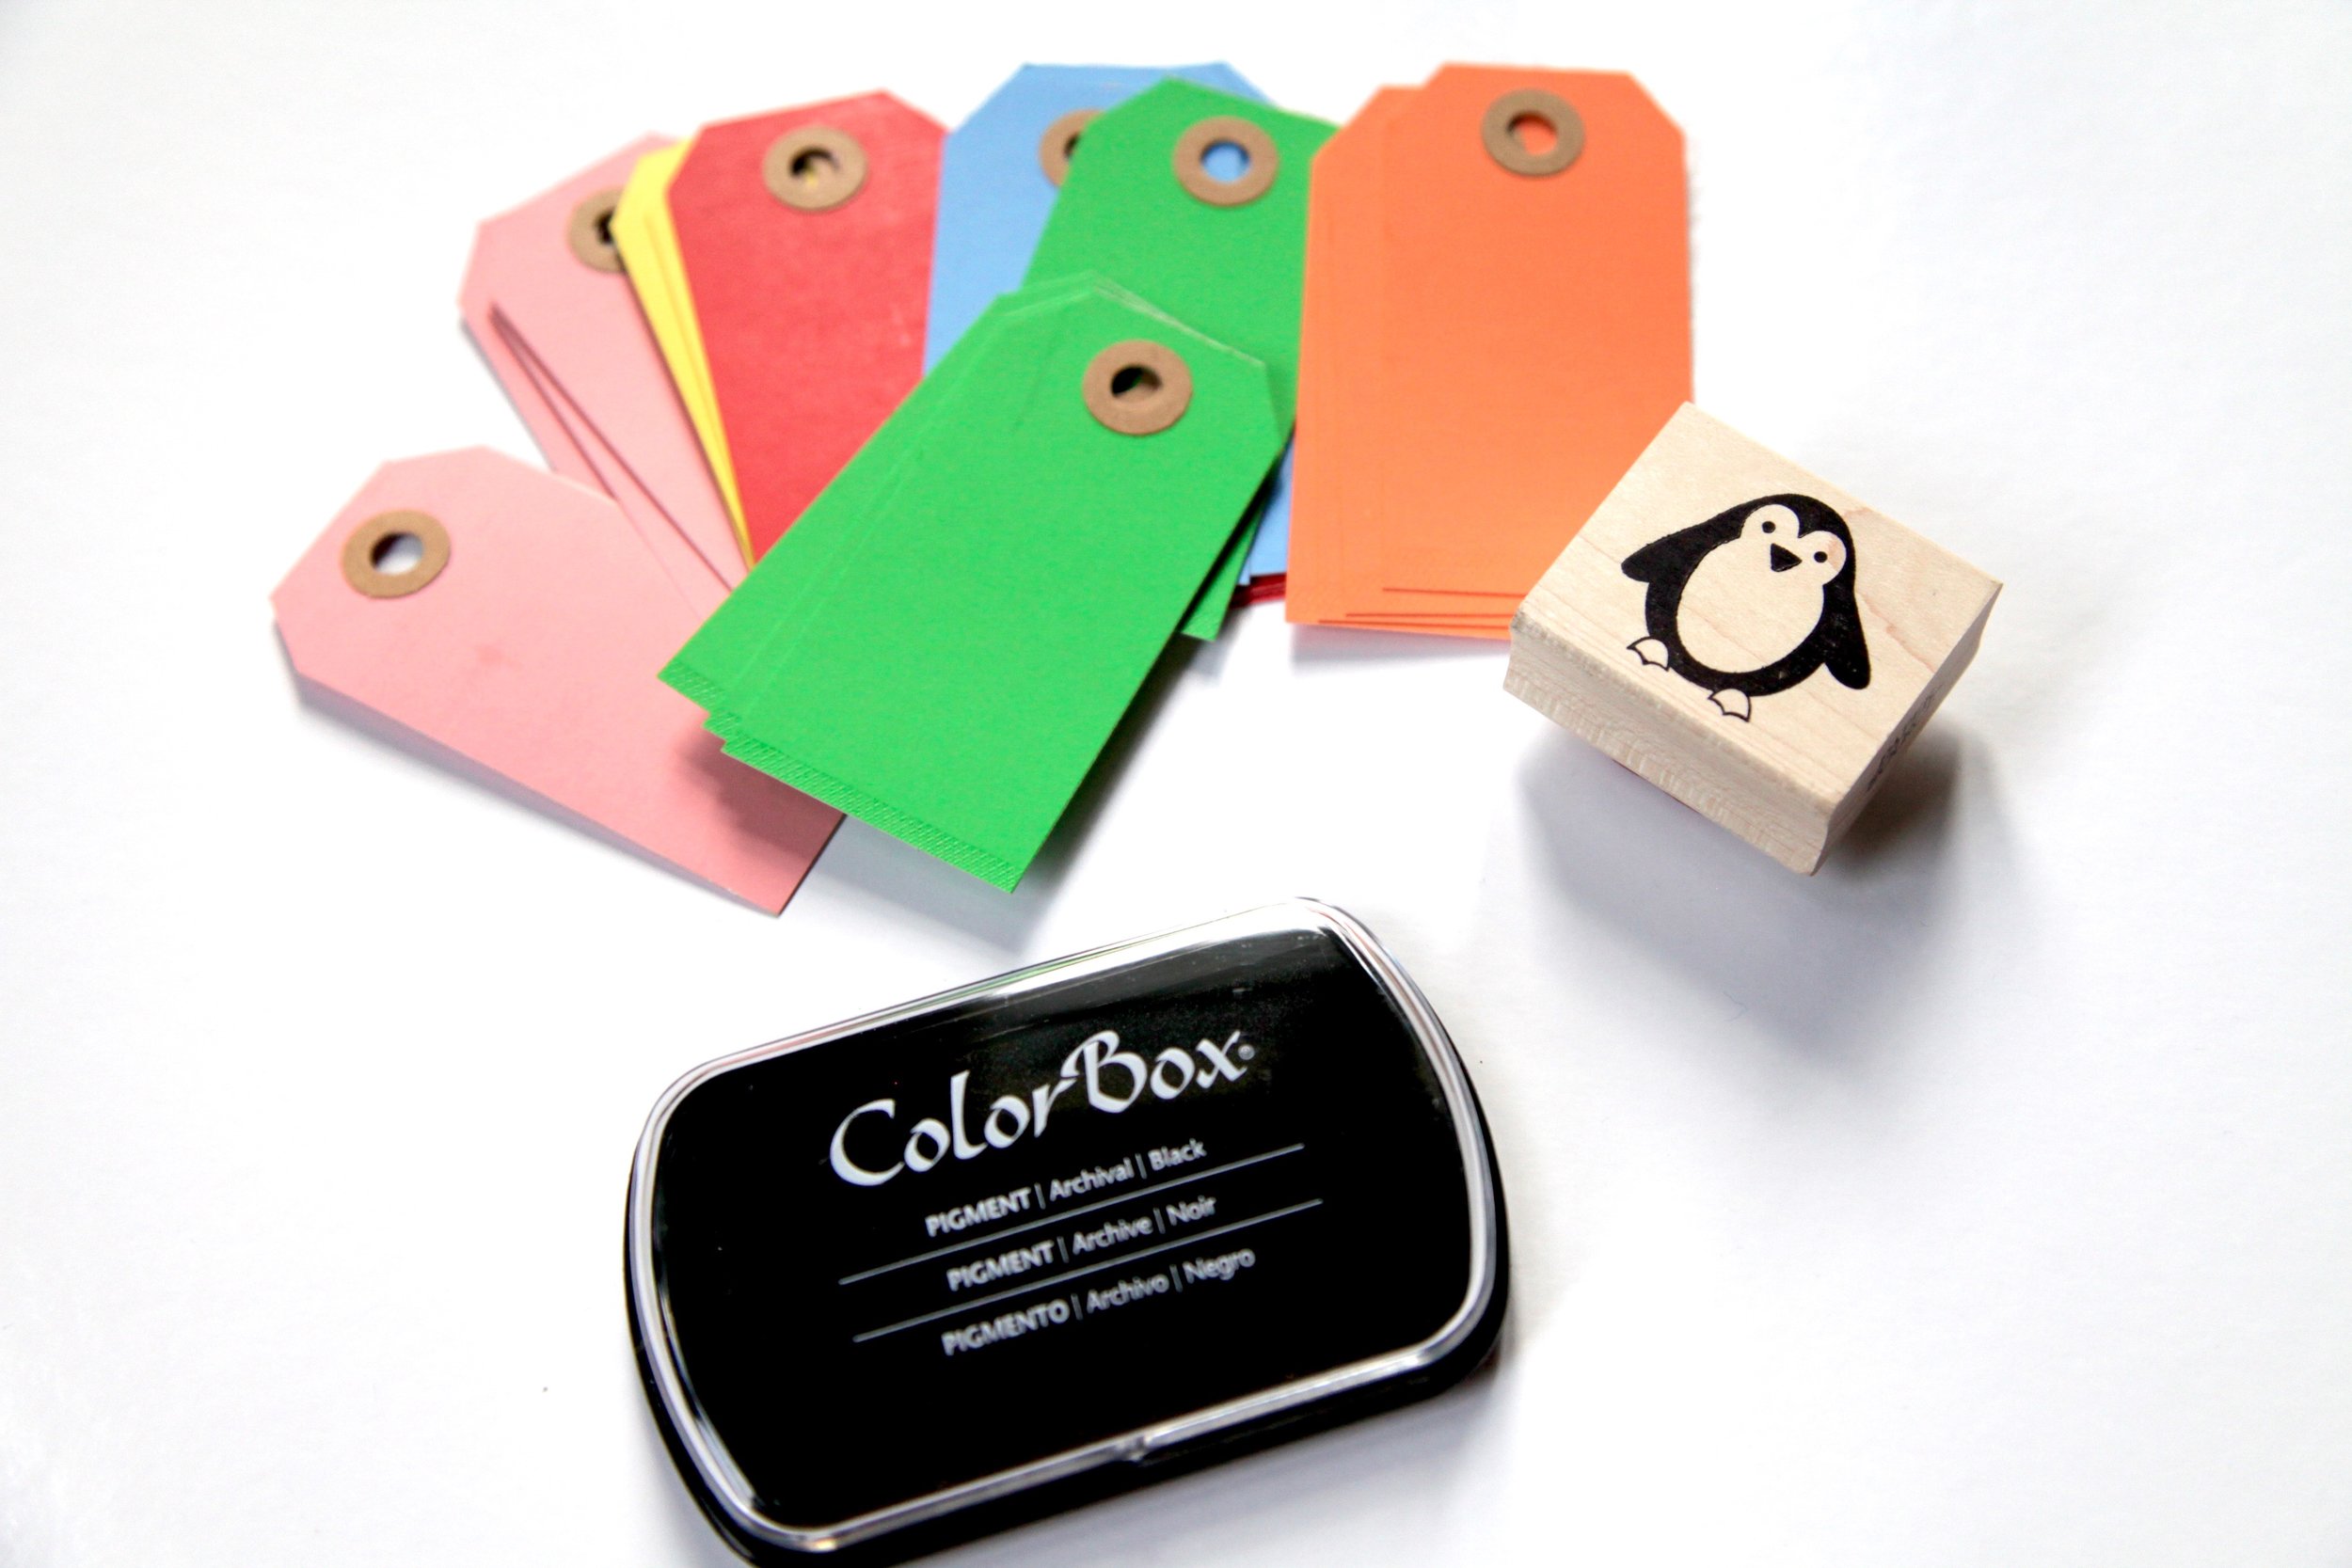
What I also realized in this process is that I want to take steps to be more eco friendly in my gift giving. I don’t want to fully give up using paper, but I am starting to incorporate more sustainable forms of giftwrap into my repertoire. I bought a pack of these Japanese Tenugui towels on Amazon. I like them because they come in fun patterns and get super soft as you wash them. They can be used as kitchen towels, napkins, headbands, scarves…the list goes on. It’s fun to wrap a small gift in one because it’s not only festive and elegant, but by doing this you’re also giving a double gift (which makes you the best kind of friend). Finish dressing your present with a personalized tag (a rubber stamp + a hand drawn message is all it takes) and that’s it, you’re essentially Martha. Happy Holidays!


